

How I Motorized My Letterpress: Variable Speed and Less Than $200
Links for what I used, also available at the end.
Hey guys! Today is for the letterpress printers out there. One of the questions I searched and searched and searched for was a cheap way to motorize my press. And I found one cheap option (rigging up a compound pulley system) that was affordable but did not allow me to change speeds as needed. So here is a solution that a colleague and I came up with, and I might be biased, but I think it’s an ingenious solution!

I got my press for about $500, but ended up spending so much more because it was missing a treadle and didn’t have a ready-to-go motor. If you’re in a similar situation, please read this article about how I motorized it for very cheap so that you don’t end up spending tons of money trying to figure this out yourself!
So my colleague and I came up with what I think is an ingenious way to motorize the press—it is actually pretty affordable, and it’s variable-speed. It does, however, require a little bit of DIY, so please don’t be overwhelmed if you’re not experienced! A lot of posts I’ve seen online on different letterpress forums, I see people recommending getting a 3-phase motor (often several hundred dollars) and a VFD to adjust the speed (also sometimes several hundred dollars, depending on what brand you buy). It seemed like I would have to spend at least $500 to motorize my press, but we ended up figuring out how to do it for so much cheaper!
_________________________________________________________

A motor given to me by the kind man who sold me the press.
When I bought the press from a really kind man, he gave me a free single phase 110 V motor that I was trying to rig up a pulley system to slow it down. But my colleague suggested buying a sewing machine motor AKA a servo motor because he had just recently purchased one to replace on his sewing machine.
The servo motor comes with a variable speed dial and it can go really slow (like 300 RPM) and it can go up really fast (almost 4,000 RPM). Anyway, I decided to try it out because it was only about $100 on Amazon and I could always return it if it didn’t work out. Of course there were a couple of problems but we fixed them with a little bit of craftiness!
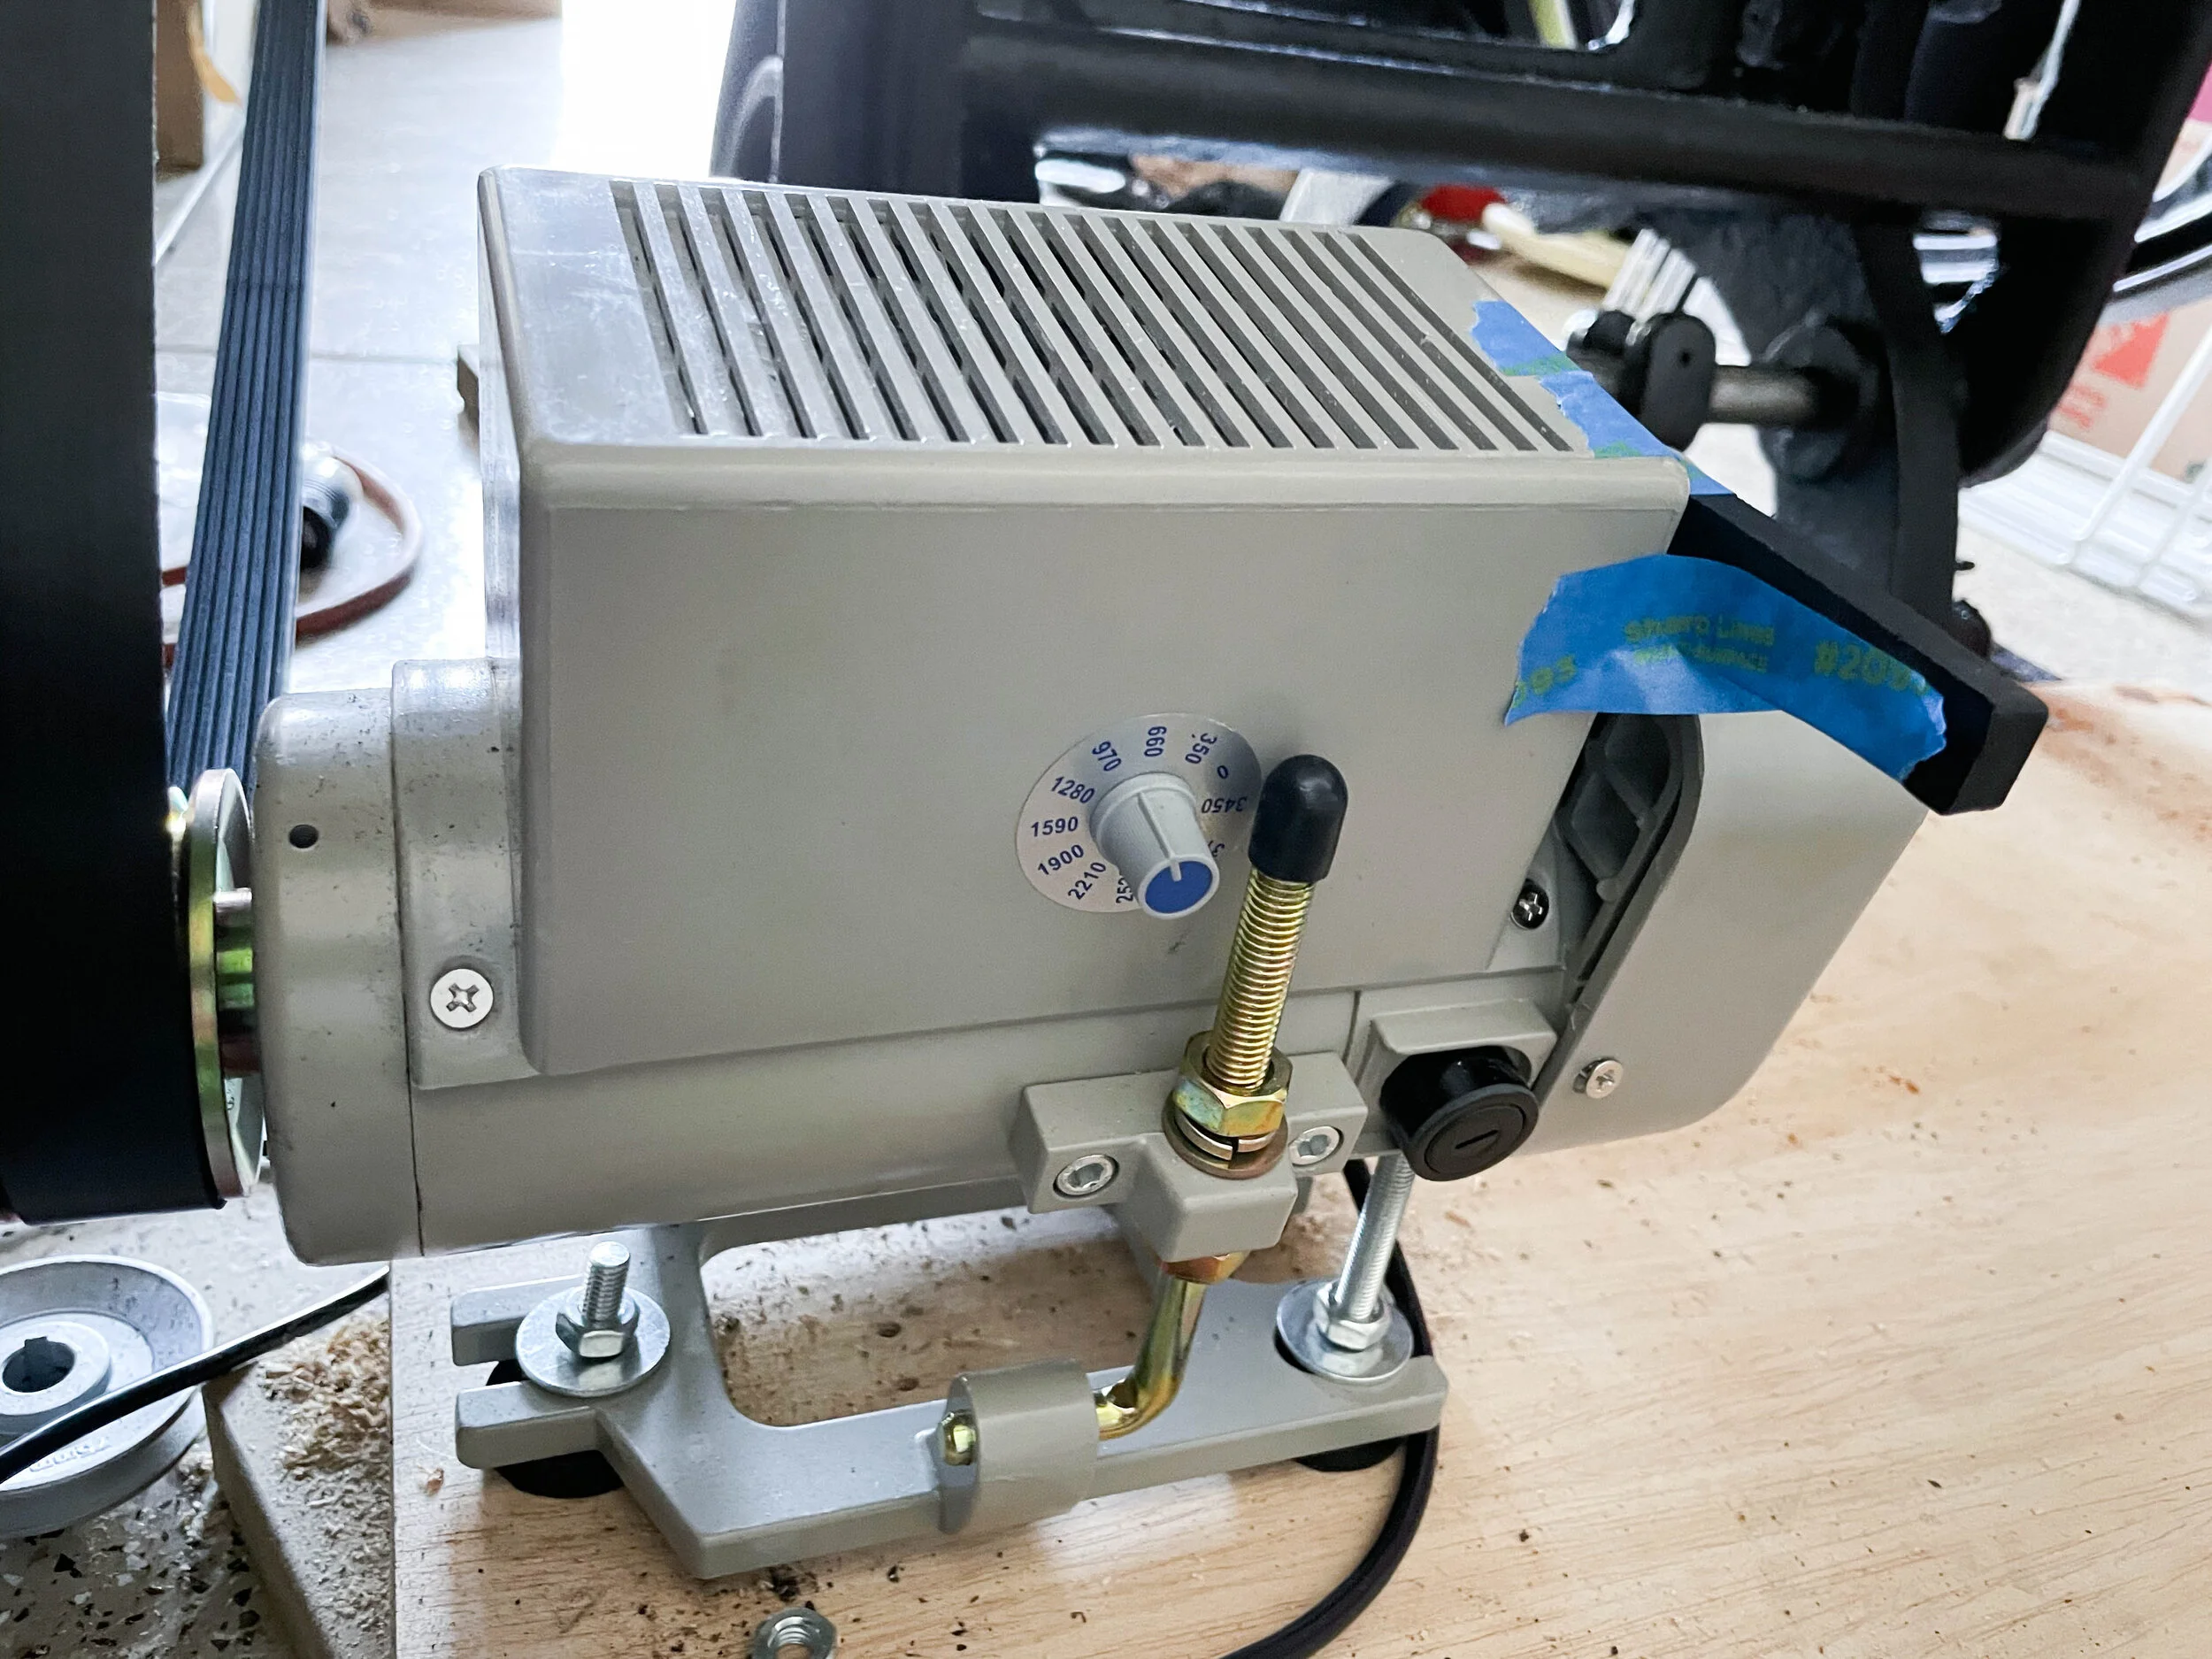
The dial on the back of the servo motor which I use to adjust the speed. I only go up to 1000 sometimes to ink up the press quickly.

Key hole made with the DeWalt saw blade and the flat file seen in the photo, purchased at my local hardware store.

V-belt pulley that came with the servo motor.
The motor came with a V belt pulley (15mm shaft diameter), but because the pulley on the right side of my press was a flat pulley my colleague suggested using a serpentine belt and a serpentine pulley on the motor so that it stays on without having to micro adjust the position of the motor, and it would also work well on the flat pulley on my press. So I found one serpentine pulley with seven ridges that had a 15 mm opening diameter online, and a 120-inch serpentine belt pre-made from the V-belt guys. When I got the serpentine pulley, I realized it didn’t have a key hole, so we ended up having to cut a square hole using a hacksaw and file in the serpentine pulley. It sounds a little complicated, but it only took about half an hour, and all we needed was a 24TPI saw and a 6 inch file, both of which I just got at Home Depot.

The serpentine pulley is flush against the motor.
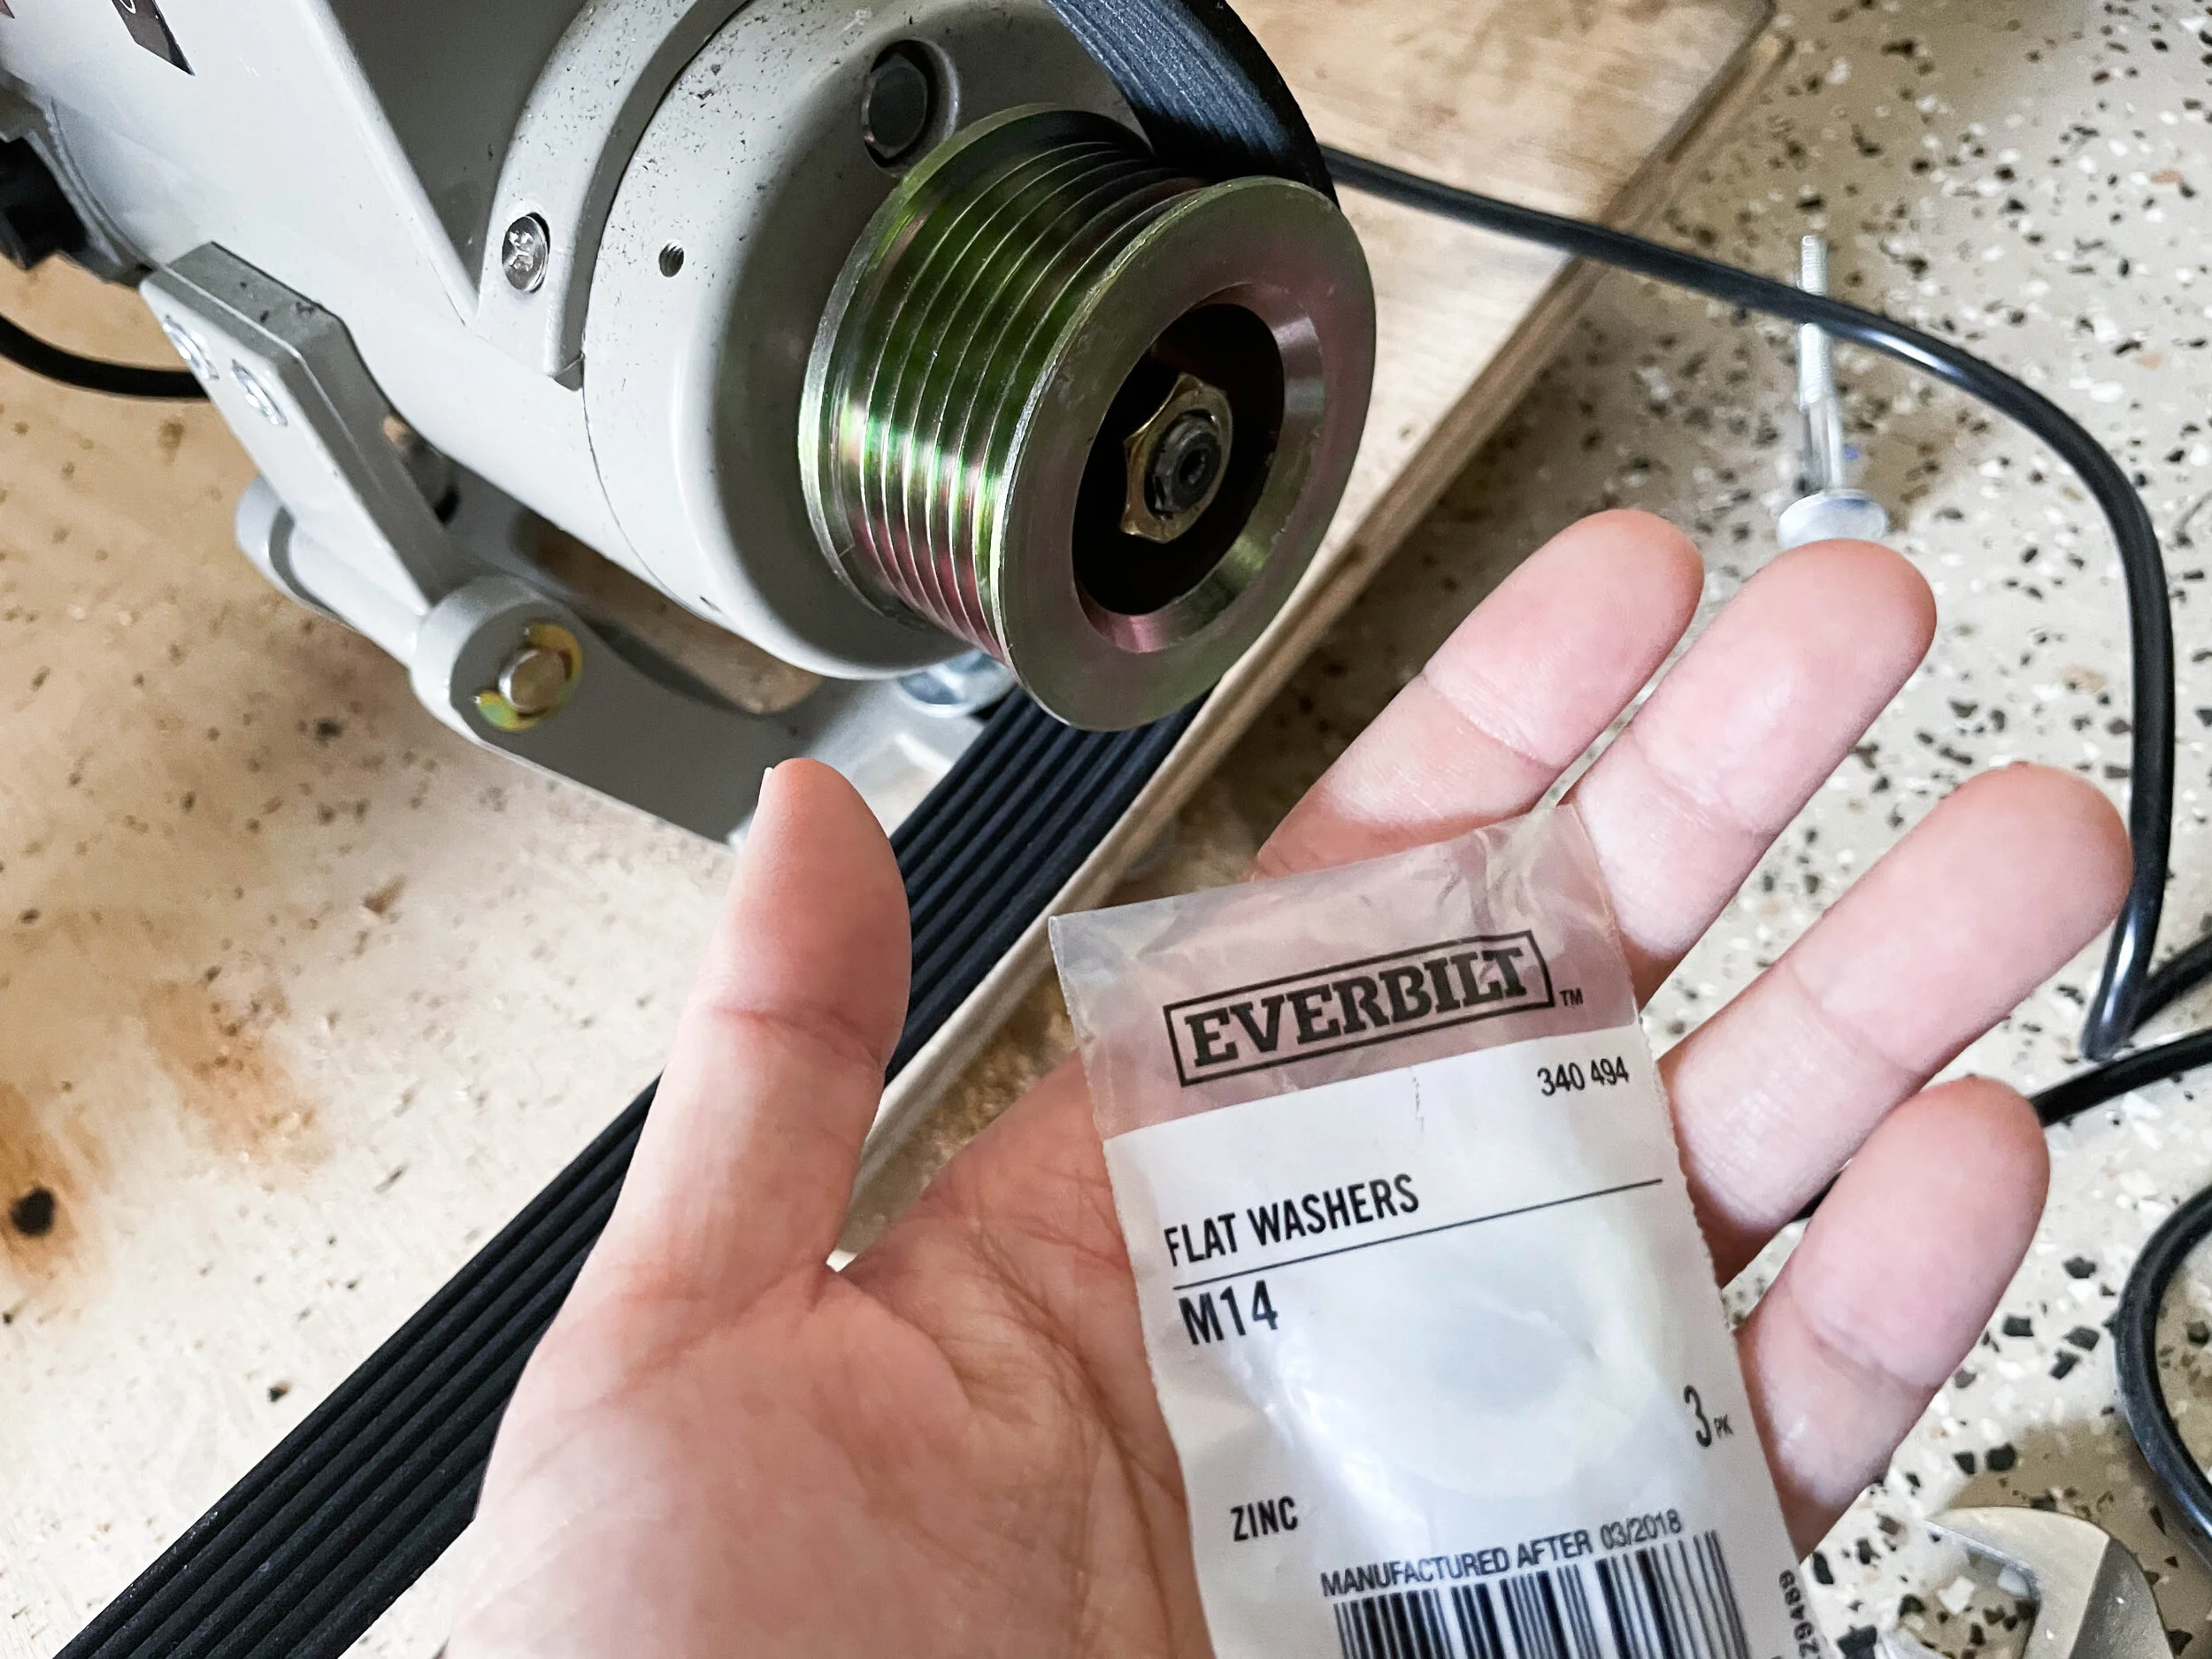
I added flat washers to offset the pulley (so that it sticks out further)
Another problem was that the serpentine pulley sat flush against the motor and wasn’t offset enough. It sat flush against the motor. To resolve that I just bought a pack of three washers from Home Depot with an opening diameter of 14 mm (it actually was a lot closer to 14 than I thought) and stuffed them between the pulley and the motor. The outside washer diameter is just a little bigger than a washer that the motor came with but it fit perfectly and that costed less than a dollar.
A final issue that I encountered was that because it’s a sewing machine motor, it’s meant to be attached to some kind of tension rod and treadle, which adjust the speed depending on how much pressure you put on the treadle. Basically, the speed is always variable based on how much pressure I put on the sewing machine treadle. But since I needed the motor to run at a fixed (low) speed, I needed the motor to stay on without having to push the lever down. To resolve that, I just opened up the side of the motor where the lever was, took off a few pieces including the spring lever, then just taped the lever into on position (over a magnet). It’s not a professional-looking fix, but it works really well and the lever isn’t going anywhere. Without the spring loaded lever, it really is easy to hold it in place.
This lever I’m holding is a tension lever with a spring. I opened up the side and removed the spring so that this lever would move loosely.

Then I taped it into place (no tension, so it stays very easily).
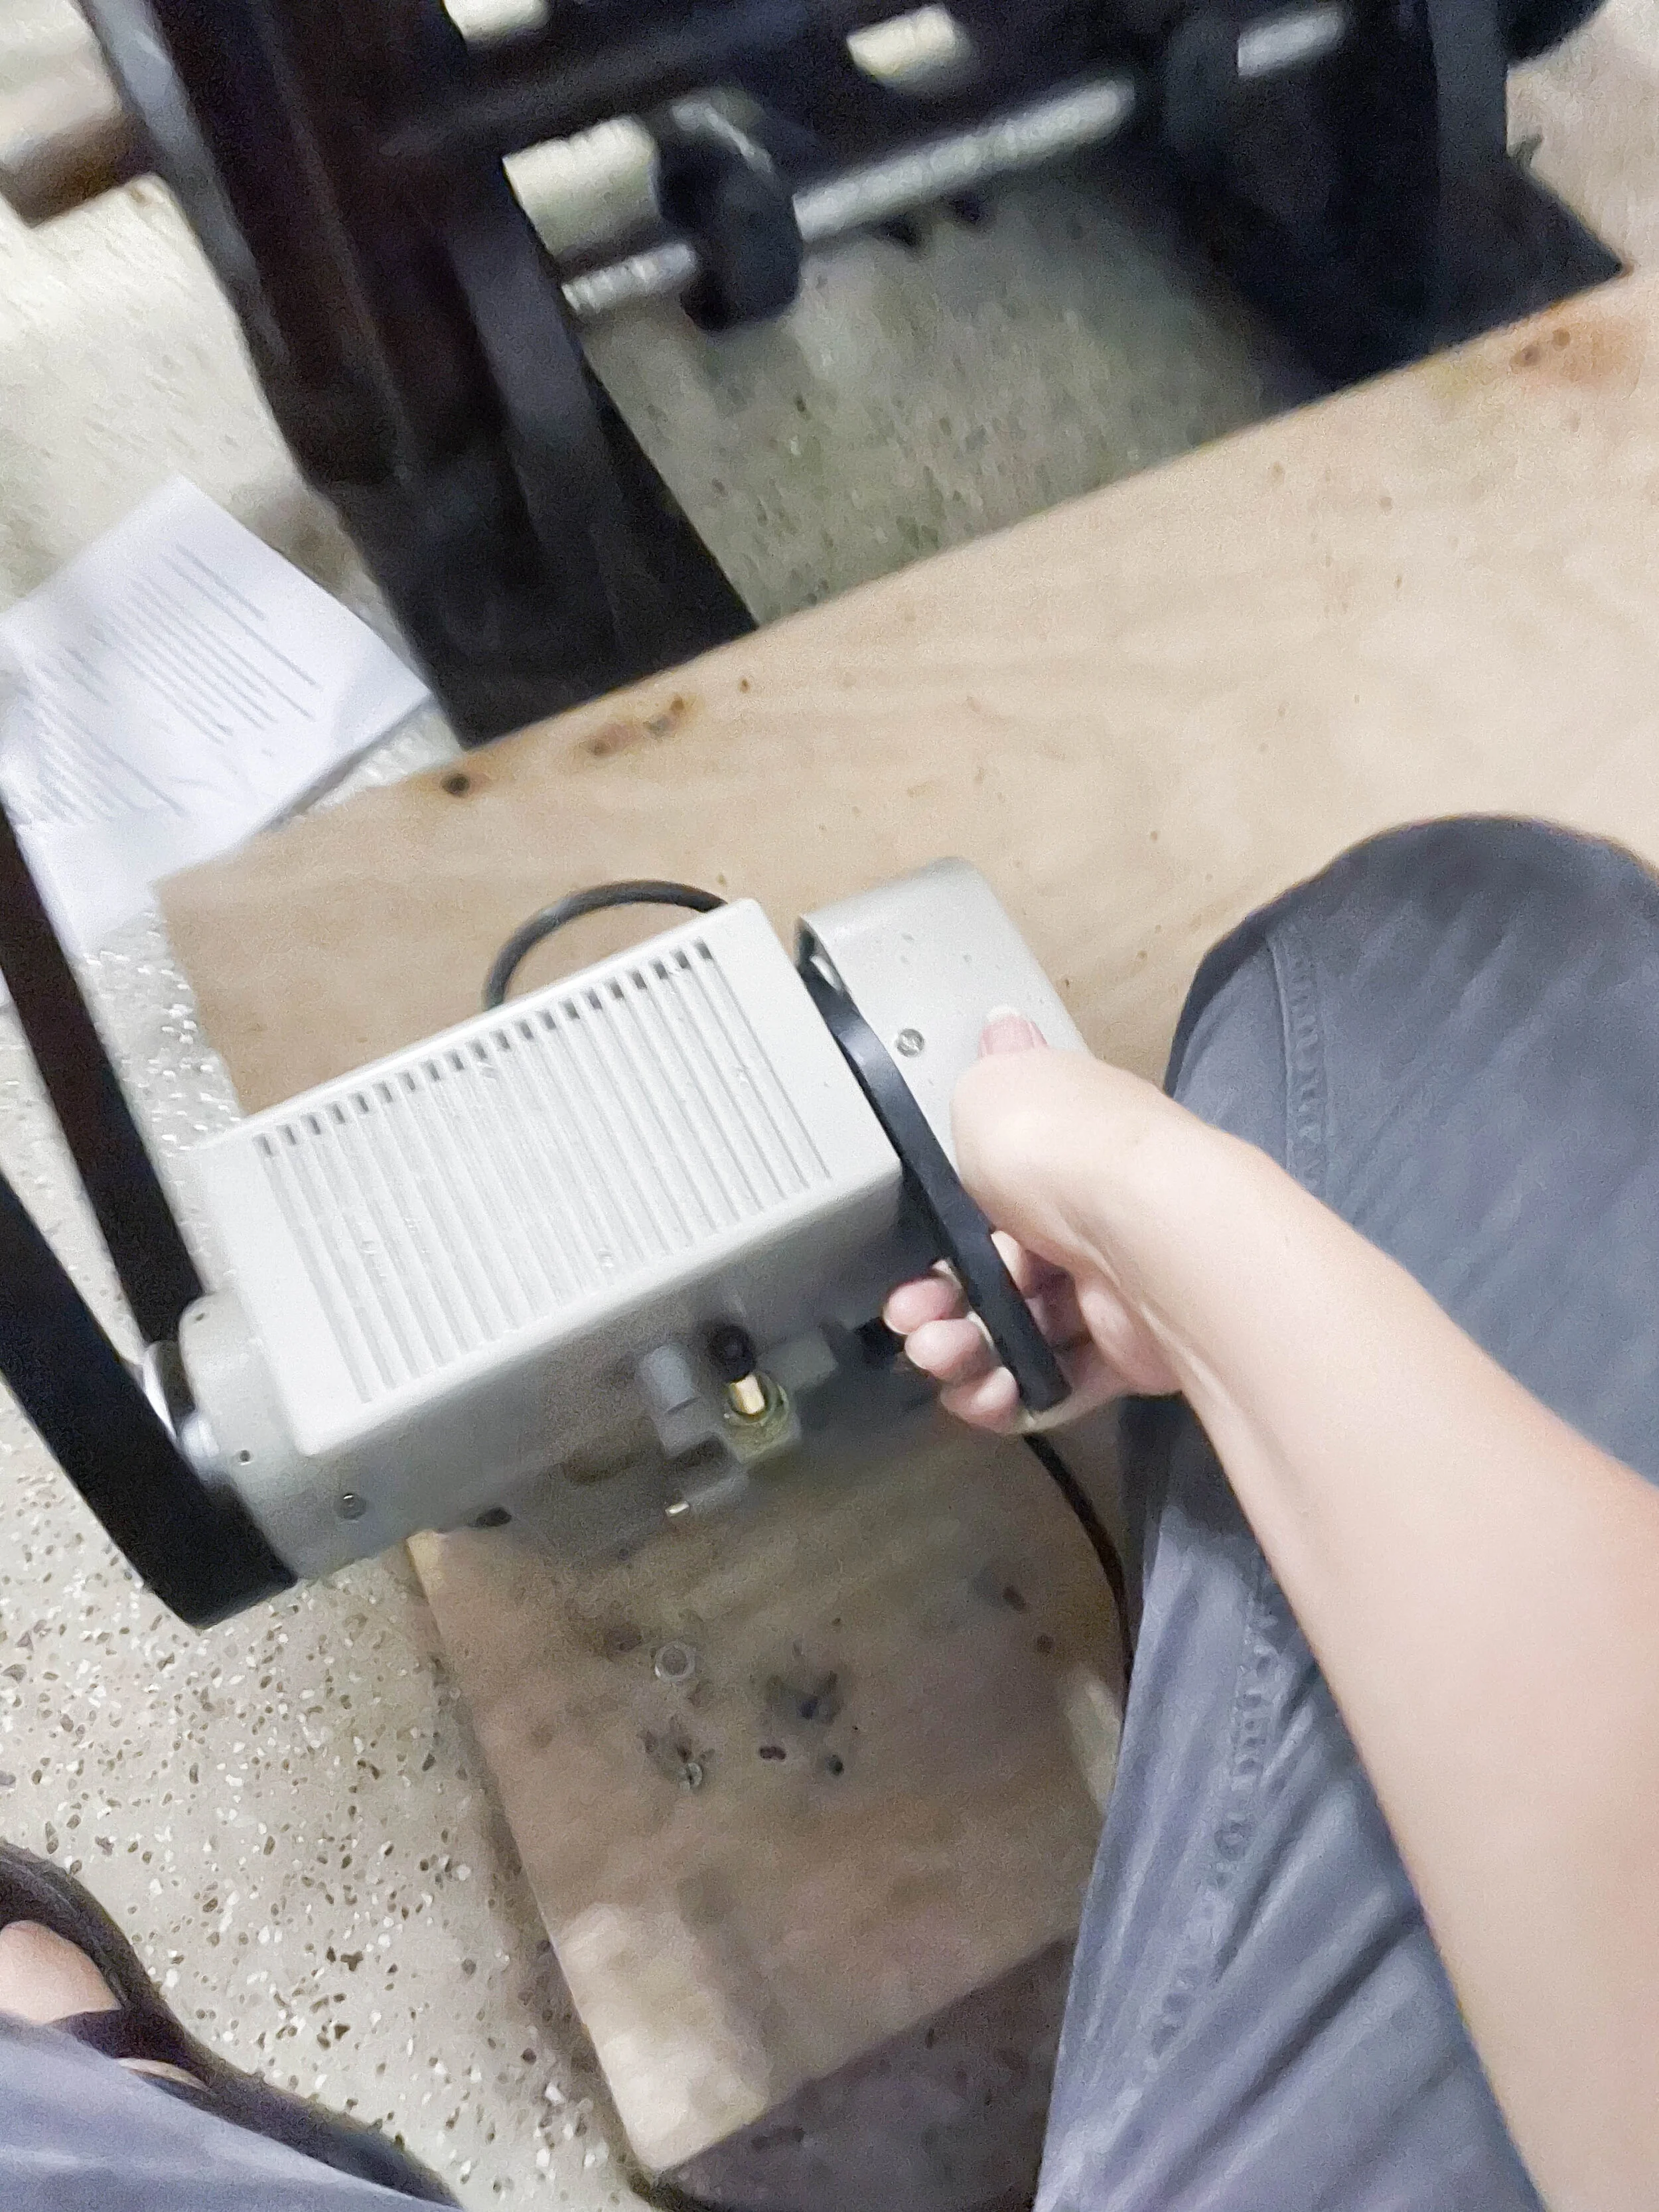
The motor is also very light, and again because it’s a sewing machine motor, it has a tension adjustment. But the tension adjustment doesn’t work too well as it’s attached to a wood panel that’s parallel to the floor. If you rigged up a system to have the motor on its side, you can probably use the tension rod a lot better. I find that with the serpentine belt, I don’t need a ton of tension to begin with, and the motor stays running.

I bought a 7 ridge pulley and serpentine belt. It stays on the motor because of the ridges, but it also works on my flat pulley on the press, so it stays on perfectly well even though my tension hasn’t yet been corrected.

Here is the on/off switch which I am planning on extending to the front of the press for easy access and safety.
I don’t think I actually needed 120 inches of the serpentine belt, but I was trying to play it safe and not buy a belt that was too short. In reality, I think I could’ve gotten a shorter belt by almost an entire foot, and it would have been long enough. It’s alright though because I have enough room for it, but I’d recommend that you measure your motor to your press to figure out the best belt length for your space.
____________________
All in all I spent about less than $200 on everything I needed to motorize the press. And if you’re wondering, it works really well! I can adjust the speed very easily (even though the dial has such a huge range that a tiny adjustment changes the speed quite a bit) and I have no problems with the wandering belt like I did when I tried to use a flat belt pulley on my original motor. I also have no problems with the flat pulley on my press, and I have no problems with tension. Overall it’s worked out really well, and I’m glad because I did not want to spend several hundred dollars on a whole new set up with a three phase motor, VFD, and all of that stuff.
Here are the links for the products I used. The motor and pulley are affiliate links but the others are just to help you out!
Servo Motor
Serpentine Belt
7-ridge pulley
Hope this post was helpful for someone out there! Really proud of how we figured this out, and happy with its amazing functionality. The servo motor is a great solution for motorizing a C&P.